
Step 1: Repair and Smooth Damaged Concrete
Step 2: Clean and Degrease Existing Concrete
Step 3: Remove Vinyl Flooring and Adhesives

Step 4: Install Concrete Board Over Wood Subfloor
Step 5: Clean and Test Existing Tile Surface

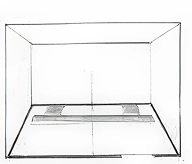
Step 6: Mark Center Lines for Tile Layout
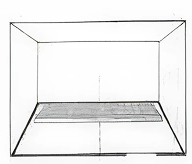
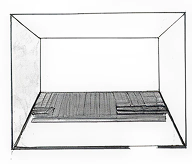
Step 7: Dry-Lay Tiles to Visualize Placement
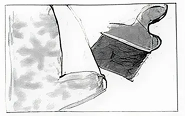
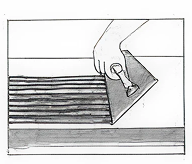
Step 8: Spread Thinset Mortar Properly
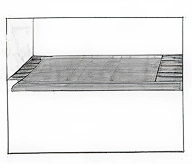
Step 9: Install Tiles Along Center Line and Straight Edge
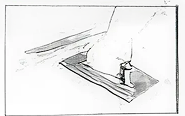
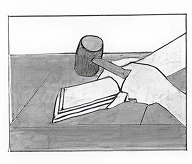
Step 10: Set Tiles Using Beating Block and Mallet
Step 11: Move Straight Edge and Repeat Installation Steps
Step 12: Remove Wallpaper and Adhesive Residue
Step 13: Scrape Loose Paint and Roughen Surface
Step 14: Patch and Smooth Wall Surfaces
Step 15: Clean and Degrease Wall Surface
Step 16: Sand or Scrape Rough Areas
Step 17: Roughen Glazed Tile Surface for Bonding
Step 18: Mark Vertical Reference Line
Step 19: Mark Horizontal Reference Line
Step 20: Spread Adhesive at 45° Angle
Step 21: Install Tiles from Center Outward
Step 22: Cut Tiles for Side Walls
Step 23: Trim Bottom Tiles as Needed
Step 24: Clean Tiles After Installation
Step 25: Spread Grout Using Grout Float
Step 26: Pack Grout Into Tile Joints
Step 27: Remove Excess Grout
Step 28: Allow Grout to Set
Step 29: Clean Joints with Damp Sponge
Step 30: Polish Tiles with Clean Cloth